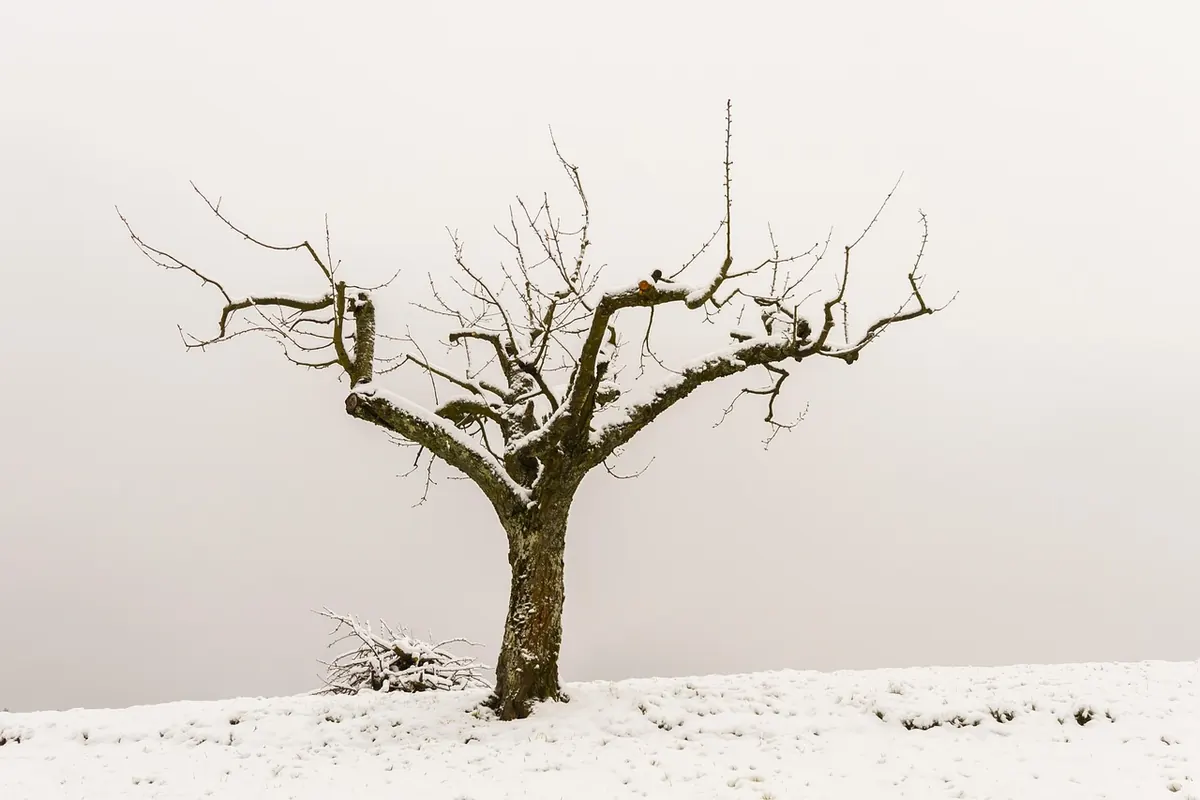
An apple tree will crop without ever being touched. It will also, after a decade or so, become a dense thicket of crossing branches with the best fruit hanging out of reach at the top. Winter pruning is how you take back control: it opens the centre of the tree to light and air, keeps the framework manageable, and sends the tree's energy into the wood that actually carries fruit.
It is not complicated work. Most of it is done with secateurs, loppers and a saw — plus the patience to stand back and look before you cut.
Why winter is the right time
Between November and early March the tree is dormant. There are no leaves in the way, so the branch structure is easy to read, and cuts made now seal over in spring as growth restarts.
Two windows are worth knowing:
- November and December — ideal for clearing out dead, damaged and diseased wood.
- January to early March — the best time for structural pruning, with the whole growing season ahead to heal.
Avoid hard frost: frozen wood is brittle and splits. Wet weather is worth waiting out too, as it can carry canker spores into fresh wounds, and autumn pruning leaves those wounds open for months.
Summer pruning has its place
Summer pruning restrains growth and builds fruiting spurs, which is why it suits cordons, espaliers and fan-trained trees. It does not replace winter work. Winter pruning shapes a tree and encourages growth; summer pruning holds it back. A mature bush or standard apple needs the winter visit most.
What you will need
- Sharp bypass secateurs — clean cuts heal far better than crushed ones.
- Loppers for branches up to roughly 3cm thick.
- A pruning saw for anything larger, with a narrow blade for tight forks.
- A sharpening stone or file, and methylated spirits on a cloth to wipe blades between trees.
- Sturdy gloves and eye protection.
A good pair of secateurs and one decent saw will do more for your tree than a trolley of gadgets. Sharpen as you work.
Read the tree before you cut
Put the tools down and walk around the tree twice. From a few metres away you will see which branches crowd the centre, which are rubbing, and which have died back. Look up as well: the top usually holds the youngest, strongest wood, and it is the easiest part to over-prune because it is hardest to reach.
- Where is the light getting in, and where is it not?
- Which branches are dead, diseased, damaged or rubbing?
- Which well-placed branches will form the permanent framework?
On a mature bush or standard apple, aim for an open, goblet-shaped centre with five to eight main limbs radiating outwards and upwards, each well spaced. Some varieties carry fruit at the tips of young shoots rather than on short spurs. If the apples hang at the ends of long, whippy growth, shorten only what you must — heavy tip pruning takes next year's crop with it.
The cuts that matter
Thinning
Removing a whole branch at its base is the most useful cut in a mature tree. It opens space without triggering a mass of new growth. Cut back to the branch collar — the slight swelling where branch meets trunk — and leave that collar intact. Never cut flush.
Shortening
Shortening a branch to a side shoot controls size and redirects growth. Cut just above a bud facing the direction you want new growth to take, at a slight angle sloping away from the bud and about 2–3mm above it. Too close and the bud dies; too far and you leave a stub that rots.
Removing a large limb
Do it in three stages so the branch cannot tear: a shallow cut underneath, a second cut from above a little further out so the limb drops, then a final clean cut back to the collar. Torn bark on an apple is an open door for canker.
Pruning a mature tree, step by step
- Take out the dead, diseased, damaged and rubbing wood first, cutting back to clean, healthy growth.
- Remove anything growing straight up through the middle of the tree, and any branch crossing another.
- Stand back and look again. Take out one or two larger branches to open the centre rather than snipping at dozens of small ones.
- Shorten last year's growth on the remaining framework by about a third, cutting to a bud or side shoot.
- Tidy the middle of the tree, then stop.
As a rough rule, take off no more than about a quarter of the canopy in one winter. If the tree is badly overgrown, spread the work over two or three years.
Young trees, neglected trees and aftercare
A newly planted apple needs very little. For the first few winters your job is to choose three to five well-spaced branches to form the framework and remove whatever competes with them, keeping the leaders short and the centre open.
A neglected tree is a longer project. Clear the obvious dead and diseased wood first, then open the centre gradually — no more than a couple of large limbs each winter, or you will provoke a thicket of soft water shoots.
Afterwards, clear the prunings from the ground, rake up any fallen fruit and leaves, and bin cankered branches rather than composting them. Wound paint is not needed on clean cuts.
Prune for light first and fruit second. The fruit follows the light.
Where to stop
Most people over-prune. A tree that loses a third of its wood every winter answers with upright, sappy growth that bears little fruit for years, and you are back to the same job next season. Once the framework is clear, the centre is open and you can see daylight through the branches, put the saw away. You can always remove another branch next winter, but you cannot put one back.
Photo: adege / Pixabay